**Edited 11/4/13: I've had some requests for the Silhouette file I used to get the sizing of the names right. I've included a link for the downloadable Silhouette Studio file HERE (only available in Silhouette Studio format.) These are the dimensions that worked for me. If you have different size washers than the ones I specified below, you may need to resize the circles and wording.**
When my daughter was born, I wanted to buy a cute personalized necklace to celebrate her birth. I loved all the stamped necklaces out there, but I felt like I could probably make something similar for less. The problem was, I don't own a metal stamping kit (although it's still on my list of wants!) Instead, I broke out my Silhouette Cameo and vinyl and came up with these cute faux stamped pendants!
These necklaces have the look of the expensive stamped jewelry, but they can be personalized however you want - and they make a great Mother's Day gift! (Think about how special it would be to give Grandma a personalized necklace with the names of her grandchildren on it.) You need a craft cutter (like the Cameo or Silhouette), a few jewelry findings and other supplies but believe me, it's worth it. This project is a go-to gift for grandparents, first time parents and everyone in between.
SUPPLIES: 2 sizes of washers found at any hardware store: 1 fender washer 1/4x1inch, 1 flat washer 1/2 cpack (these were the names and dimensions of the ones at my hardware store, but you can use whatever size you prefer), round nose pliers, wire cutters (not shown), Silhouette or Cameo craft cutter, black adhesive vinyl and transfer paper, thin chain (the smaller the better), findings: jump ring, head pins, and closure, crystals, Diamond Glaze.
Before You Begin:
First, you'll need to measure your washers to determine how big your wording needs to be. Open the Silhouette Studio, and create 2 circles slightly smaller than the size of your washers.
ONE: choose the type tool and type out the names that you want on your pendants (names of the parents or grandparents will go on the large washer and the names of the children on the small washer.) Stick to a simple font and type in caps for ease of cutting (I used Arial.) Also, you can use a small heart shape to separate the names of the children like I did.
TWO: as you type, you'll see a little circle with a plus in it to the left of the text (see picture above.) Click on the circle and drag the wording into the circle. The text will conform to the shape of the circle.
THREE: repeat for larger circle.
Creating Your Vinyl Wording:
ONE: use your Silhouette to cut out your wording on the black vinyl.
TWO: place your transfer paper on top of your black vinyl and press well. Peel your transfer paper upward to lift your letters. Note: you could peel up the vinyl to expose the letters first, but I found this method to be easier since the letters are so tiny and they tend to stick to the vinyl when peeled.
THREE: after you've transferred your wording to the transfer paper, use tweezers or your hook tool to weed out any small pieces of vinyl in your lettering.
FOUR: very carefully place your transfer paper on top of your washer (make sure they're clean first!) and press down evenly. Remove your transfer paper to see your transferred wording. If needed, you can use tweezers to adjust your letters some if they're a little wonky.
FIVE: seal your pendant with a coat of Diamond Glaze. Outline the washer on the outside and inside hole, then fill in with additional glaze. If there are any bubbles, put a lighter close to the surface of the glaze and they will pop. Let dry according to the directions on the bottle.
SIX: after your washers have dried, measure out the length you want your necklace to be and cut your chain to length. Stack your smaller washer on top of the larger one, then fold your chain in half and insert the loop through your washers as shown above. Lace the tails through the loop, then attach your closure at the ends of your chain.
Making Your Charms:
The charms are optional, but they add an extra special detail to the necklace by indicating the gender of the children on the pendants. Plus, they add a little bling :)
ONE: insert a crystal onto a head pin.
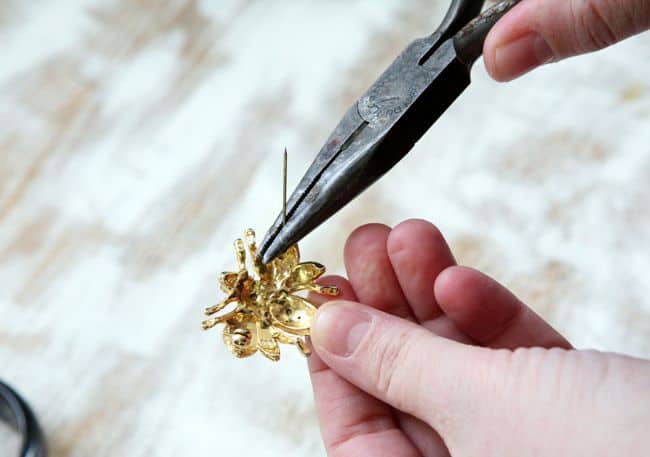
TWO: grasp the head pin a few millimeters above your crystal and make a loop by wrapping the wire around the side of your round nose pliers. Use your fingers to wrap the tail of the wire several times around your charm. Clip excess with your wire cutters, and attach to your necklace with a medium jump ring.
And now you have a beautiful, personalized necklace! This one below was made to celebrate the birth of my brother's first baby.
And of course I had to make one for myself. Now I have the special necklace that I've always wanted to celebrate my children! I've already made several of these for friends and family and they love them.

Have fun making one for your mother (or yourself!)
P.S. Thanks to the folks at the Silhouette blog for previewing this project!
P.S. Thanks to the folks at the Silhouette blog for previewing this project!

Check out our Link Party Page to see where we link up each week!


